Build a fully headless linux gaming server
Build private Geforce Now
I have an old PC build that is used as a headless linux server sitting in the attic.
This machine has an Nvidia RTX2080ti GPU and serves as a transcoding server and AI computing backend at home.
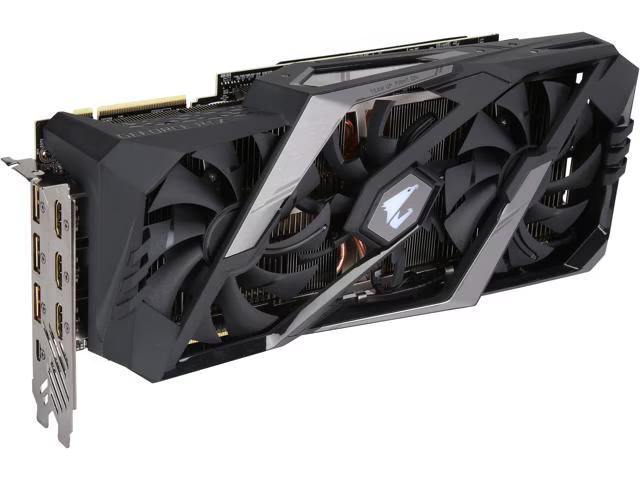
Therefore I am looking forward to bringing it more capabilities.
As a passionate video gamer, I want to make a gaming server out of it.
Design Limitation
The PC is on the top floor therefore its service must be remote and headless like a server. The clients (laptops and phones) would access the gamestream through the wireless network.
I got an AX9000 router recently so there is little problem with the network quality.
Hardware Specification
PC components:
- Intel i7-9700K (OC to 8-Core 4.9GHz)
- Gigabyte Aorus RTX2080ti (PL unlocked to 350W)
- 32GB DDR4 RAM (recently upgraded to 64GB after this post)
- 2TB SSD
- 4TB WD Redplus HDD
The solution in this post should work with any dedicated GPU. Non-NVIDIA GPU need open source alternative for Nvidia Gamestream.
Preparation
There is preparation to do before our experiment.
First, you need a running linux system and enough disk space for a VM.
A running Win10 Home would take around 50GB of space. I would suggest 80GB considering future system updates and system data.
Allocating another vdisk for games and software is recommended, as it would grant flexibility in altering disk images without breaking the system. It also enables the usage of Qcow2 dynamic shrinking capability for even more flexibility in storage space.
According to QEMU, resize system vdisk might break the VM.
Before working on any real thing, please check that your hardware supports PCIe passthrough.
Enable VT-d and IOMMU
You need IOMMU to pass the GPU to the virtual machine. Therefore you should enable IOMMU on BIOS.
Restart your machine and press F2 or whatever your motherboard prefers to enter bios.
The IOMMU setting is usually named Intel VT-d or AMD-Vi. On most modern motherboards it should be turned on by default.
You can check the result by
sudo dmesg | grep IOMMU
sudo dmesg | grep VT-d
# for AMD CPU
# sudo dmesg | grep AMD-Vi
If you have an integrated GPU on your CPU chipset, I recommend assigning it to your Linux X11 display to get an accelerated Linux desktop after detaching the dedicated GPU.
If you want to keep Linux Desktop with GPU passthrough, you need to assign an X11 display to the integrated GPU or software driver.
Otherwise when you passthrough your dedicated GPU, the X11 desktop would break and only ssh could be used.
Install essential tools
Now we need to install tools for GPU-passthrough and Windows Virtual Machine
If you use arch/manjaro, here is what you need
sudo pacman -S qemu-desktop vfio vfio-pci vfio-iommu libvirt virt-manager edk2-ovmf
I highly recommend using libvirt as VM manager.
Among these packages,
- QEMU for hosting Win10VM
- You can use other distros of QEMU like QEMU-base
- VFIO driver for isolating GPU and PCIE devices
- libvirt and virt-manager for easy management of VMs
- You can use QEMU cli but quite complicated to configure
- OVMF as the firmware for Win10VM
It would be much more convenient to have a display for configuration and debugging use during the build. You should connect it to your motherboard video output.
You won’t need it after we finished the building.
Download images for VM
- Download Official Win10 Image, Choose what you like
- Download virtio driver to enable better io performance
- [Optional] Download Nvidia Geforce Experience
Geforce Experience could be downloaded directly in Win10VM too.
Handle the GPU
Now we can configure the GPU-passthrough
Locate GPU
Use this script to get info on IOMMU groups
#!/bin/bash
for d in /sys/kernel/iommu_groups/*/devices/*; do
  n=${d#*/iommu_groups/*}; n=${n%%/*}
  printf 'IOMMU Group %s ' "$n"
  lspci -nns "${d##*/}"
done

Do remember your GPU PCIe address, as you need to detach and pass them to Virtual Machine.
For me, it is 00:01.0 to 00:01.3
This PCI number would map to address 0000_01_00_0 to 0000_01_00_3
Be careful about your GPU group.
If your GPU and its peripherals (audio, USB, Serial) are in a single group, you can go detach them now.
ACS patch
If your GPU iommu group is mixed with other devices, you would need ACS patch to make it work.
ACS override could hurt hardware isolation and requires great discretion to do.
**This situation is quite rare on modern motherboards **
Manage the GPU
Some tutorials on GPU-Passthrough suggest detaching the GPU whenever the system boots.
However, since I still need the GPU for Machine Learning and Transcoding, I choose to detach and attach it on demand.
Detach the GPU
To detach the GPU, simply unload the GPU driver and replace it with VFIO driver.
You should terminate all tasks (compute or monitor) on the GPU otherwise it won’t get unloaded completely.
Note: Kernel modules have dependencies. Do load and unload in the correct order
#!/bin/sh

# Load VFIO driver
modprobe vfio
modprobe vfio_iommu_type1
modprobe vfio_pci

# Stop X11 temporarily
systemctl stop sddm.service

# Unload NVIDIA driver
modprobe -r nvidia_uvm
modprobe -r nvidia-drm
modprobe -r nvidia-modeset
modprobe -r nvidia
modprobe -r i2c_nvidia_gpu

virsh nodedev-detach pci_0000_01_00_0 # Detach GPU
virsh nodedev-detach pci_0000_01_00_1 # Detach GPU - Audio
virsh nodedev-detach pci_0000_01_00_2 # Detach GPU - USB
virsh nodedev-detach pci_0000_01_00_3 # Detach GPU - Serial

# Restart X11 for use
systemctl start sddm.service
Attach the GPU
Attach the GPU is the exact reverse order.
I decided to run nvidia-smi to make sure GPU is working normally.
#!/bin/sh

# Stop X11 temporarily
systemctl stop sddm.service

virsh nodedev-reattach pci_0000_01_00_0 # Reattach GPU
virsh nodedev-reattach pci_0000_01_00_1 # Reattach GPU - Audio
virsh nodedev-reattach pci_0000_01_00_2 # Reattach GPU - USB
virsh nodedev-reattach pci_0000_01_00_3 # Reattach GPU - Serial

# Unload VFIO driver
modprobe -r vfio_pci
modprobe -r vfio_iommu_type1
modprobe -r vfio

# Load NVIDIA driver
modprobe i2c_nvidia_gpu
modprobe nvidia
modprobe nvidia-modeset
modprobe nvidia-drm
modprobe nvidia_uvm

# Restart X11 for use
systemctl start sddm.service

nvidia-smi
Setup VM with passed GPU
I highly recommend using virt-manager to set up the Win10VM if you are not familiar with qemu-cli.
sudo virt-manager
You need a desktop to do that, no matter whether it is a real display or VLC.
NoMachine is a good choice if you would like a quick and easy solution. As we are only using VLC for configuration.
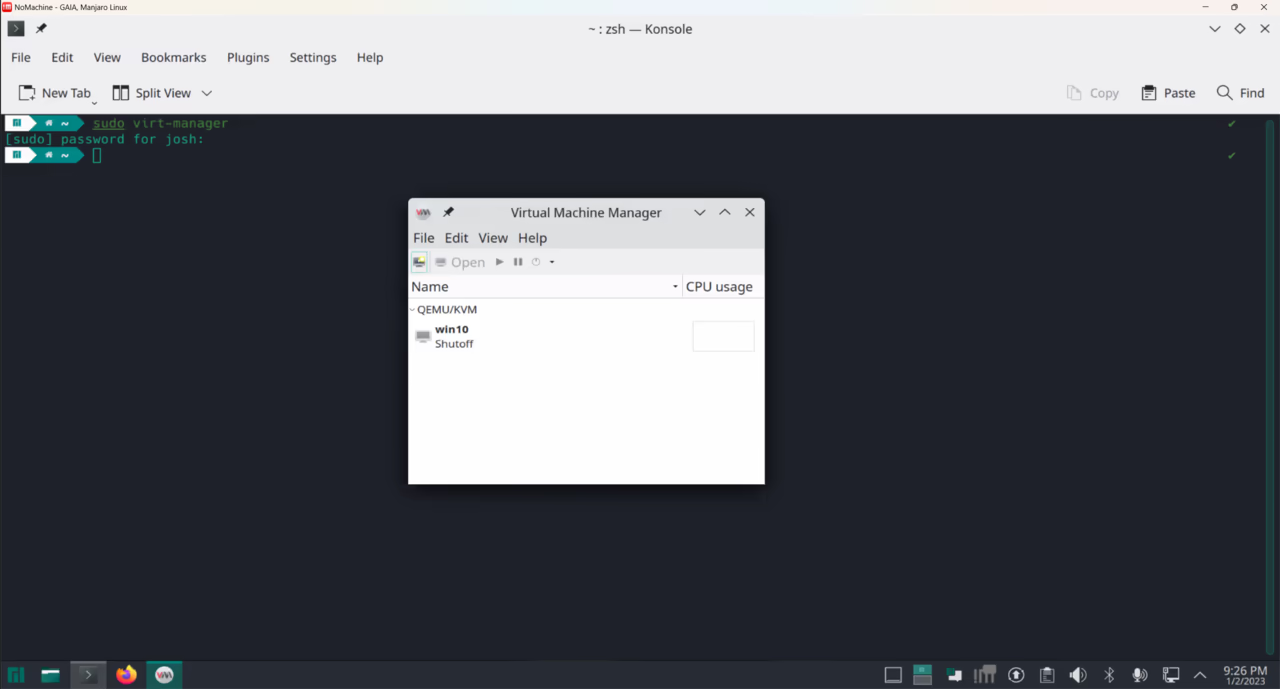
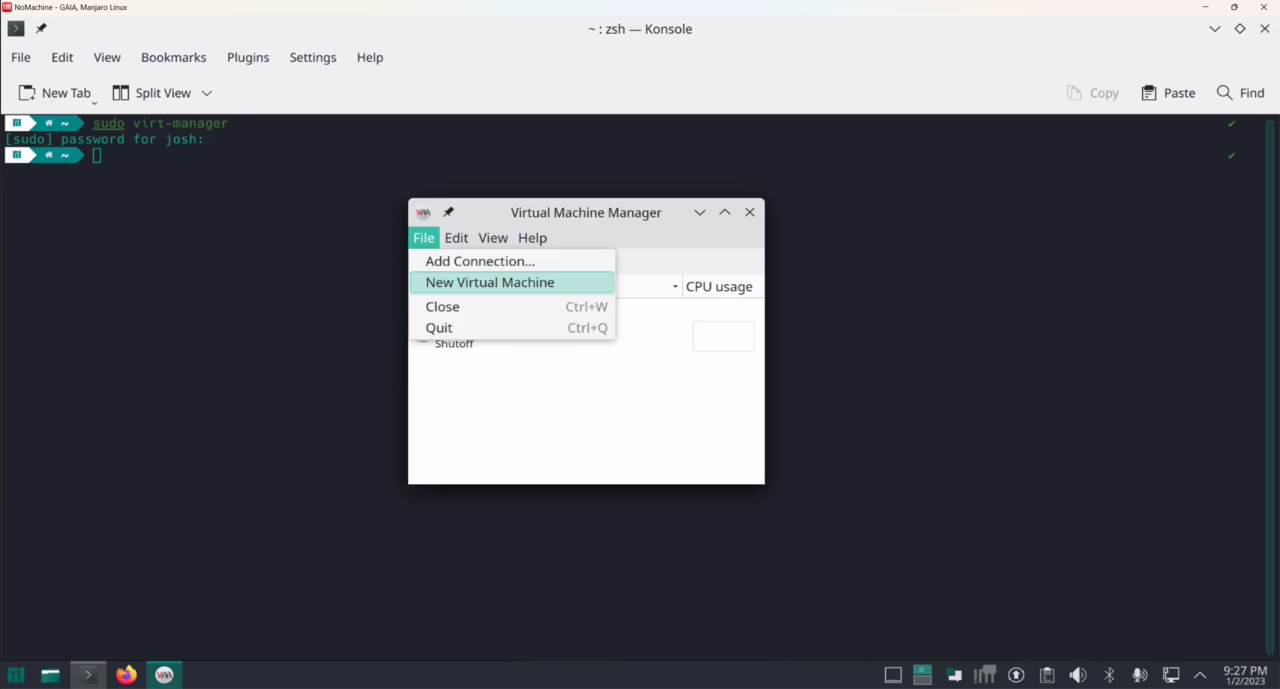
Use Virt-Manager GUI to create a new VM
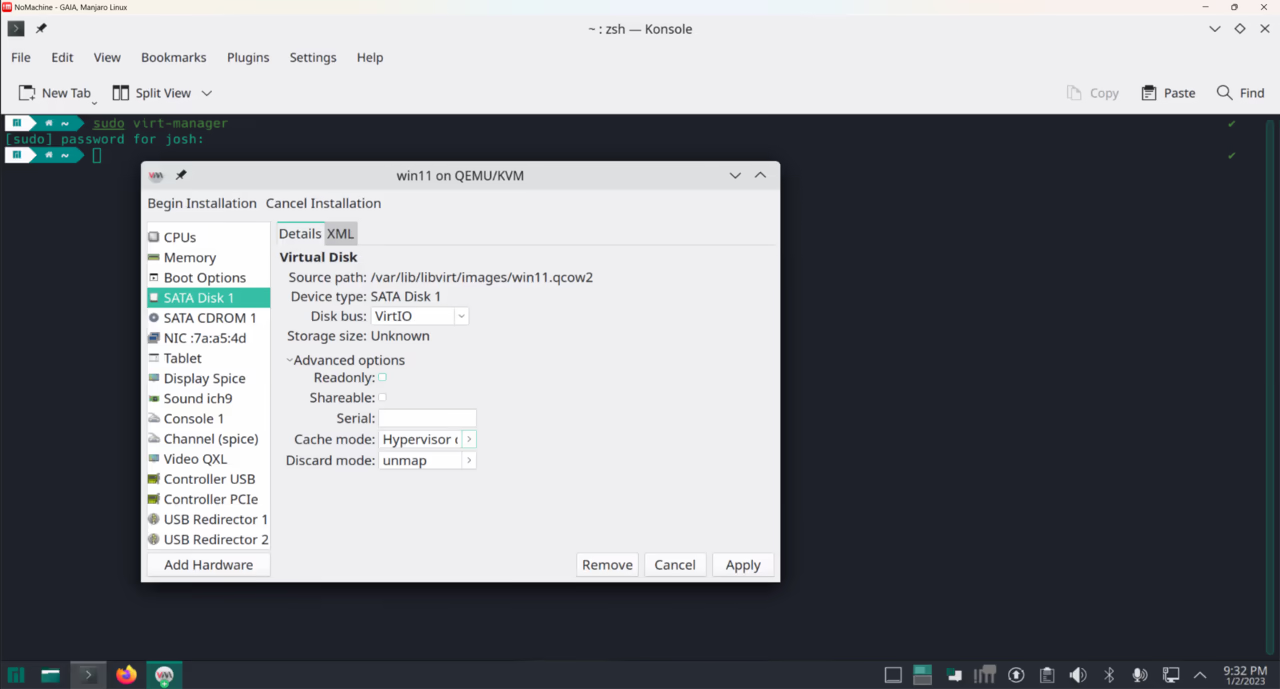
Check customization before installation.
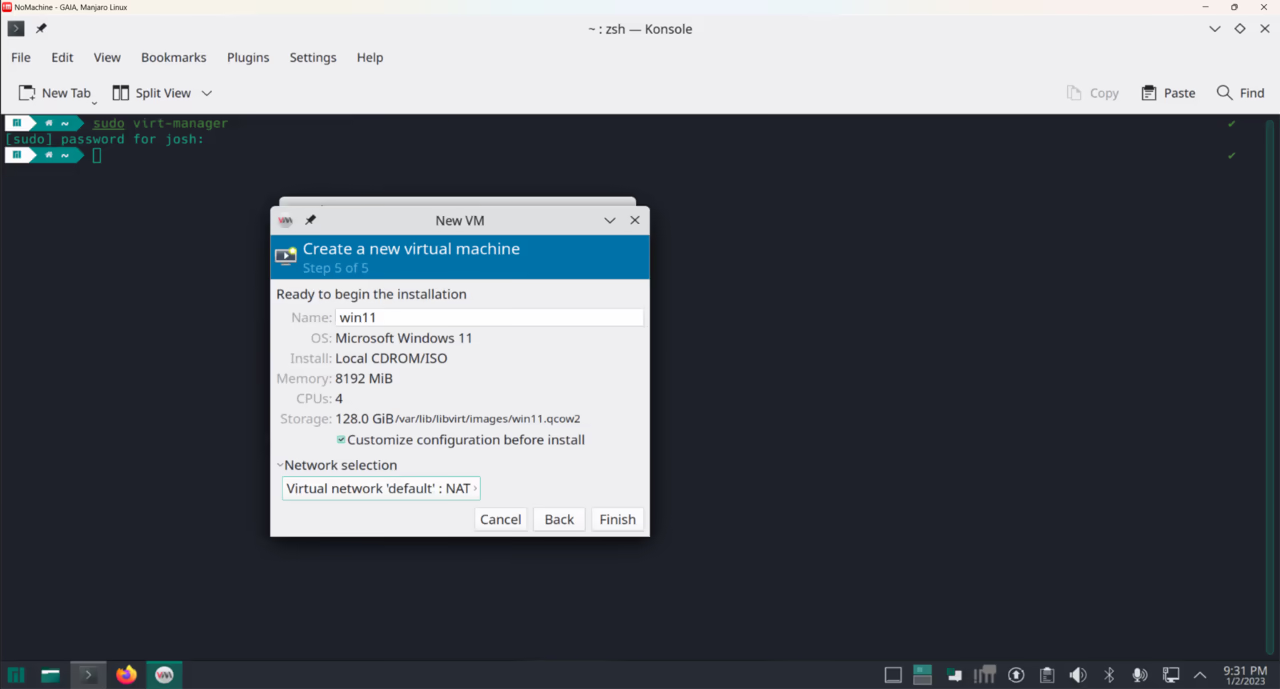
Remember to add the Disk Image of Win10ISO and Virtio Driver ISO
Add Your GPU components as PCI-e devices according to PCI-E address.
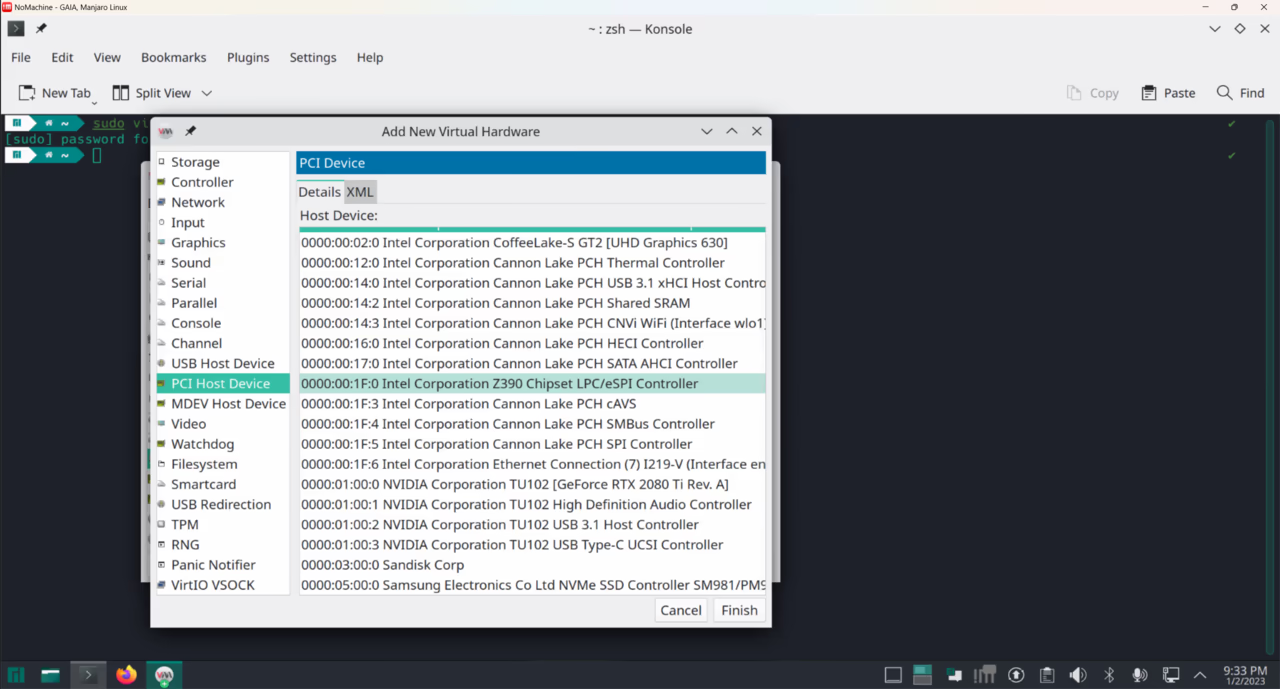
Make sure all four PCIe devices are added
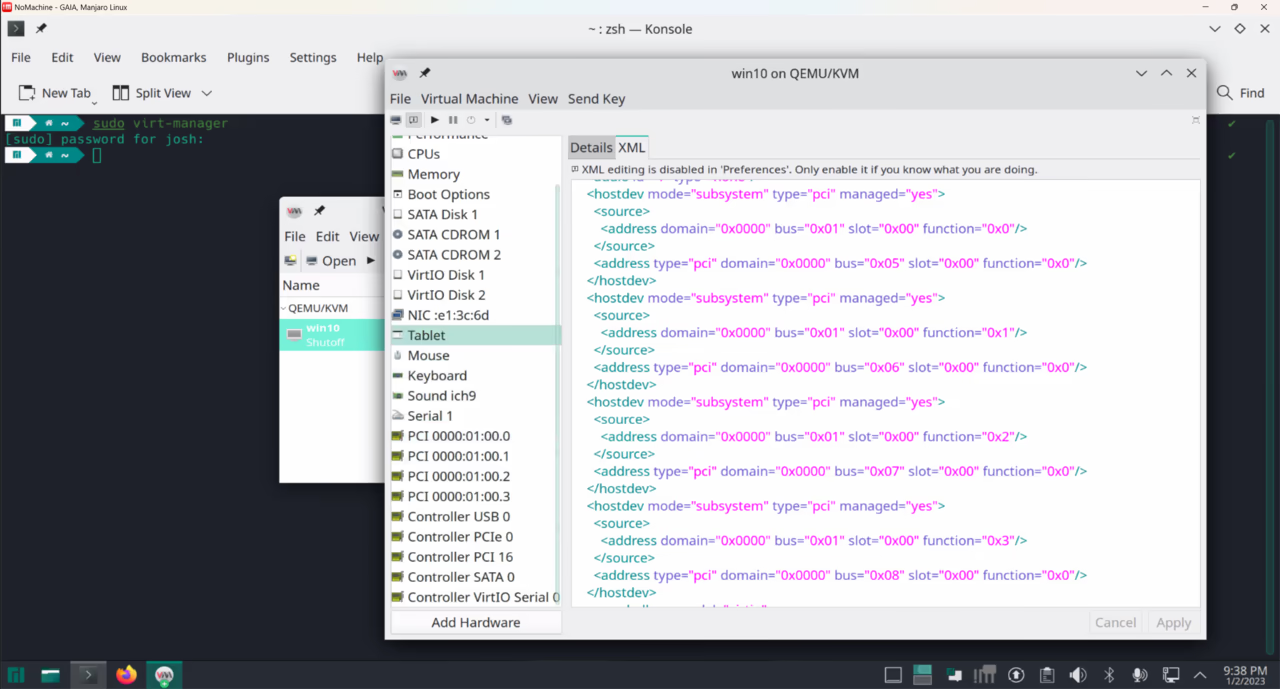
If you don’t have an external display/mouse and keyboard, add SPICE display to get a display to do configuration inside Win10VM. Otherwise, you can just plug them in and pass them.
Note: Direct physical SSD
If you want to install windows on physical storage directly you need to load SSD driver in the disk partition menu for Win10VM to use the physical disk.
M2 NVMe Passthrough would surely improve disk performance, though in my opinion Vdisk on ssd is just fast enough.
Passing the physical storage could mitigate some qemu issues since qcow2 would dispatch hdd operations to vdisks even if they are actually on SSD.
Personal Observation: I have not experienced any slowdown in gaming from vdisks.
And I do enjoy the convenience of swapping vdisks to HDD to spare some ssd for tasks like machine learning and computing. After all gaming is a hobby.
Boot and Install VM
Start the VM and install the system to VM.
- On the disk partition menu, load the virtio driver to make the system vdisk use virtio driver too.
- log in and install virtio driver for the network and other devices.
- Install Nvidia Geforce Experience and driver for Nvidia GPU.
- Install drivers and open-source moonlight for other GPUs.
Set the auto-login for fully headless use.
You need to log in for Nvidia Gamestream or other broadcasting software to run.
Use LookingGlass
You don’t need LookingGlass if you want to go fully headless. As graphics would be delivered by the network.
If you are using your linux host with a monitor, LookingGlass can save you a cable to the passed GPU by exchanging video output to host memory directly.
To use LookingGlass, install the LookingGlass driver in Win10VM. Then add the shared memory device in virt-manager.
LookingGlass client in Linux would query the memory for graphics output.
Disable Memory Balloon as it would interfere with shared memory for LookingGlass
Setup Moonlight Client to use streaming
For nvidia users, login into GeForce experience and set up gamestream.
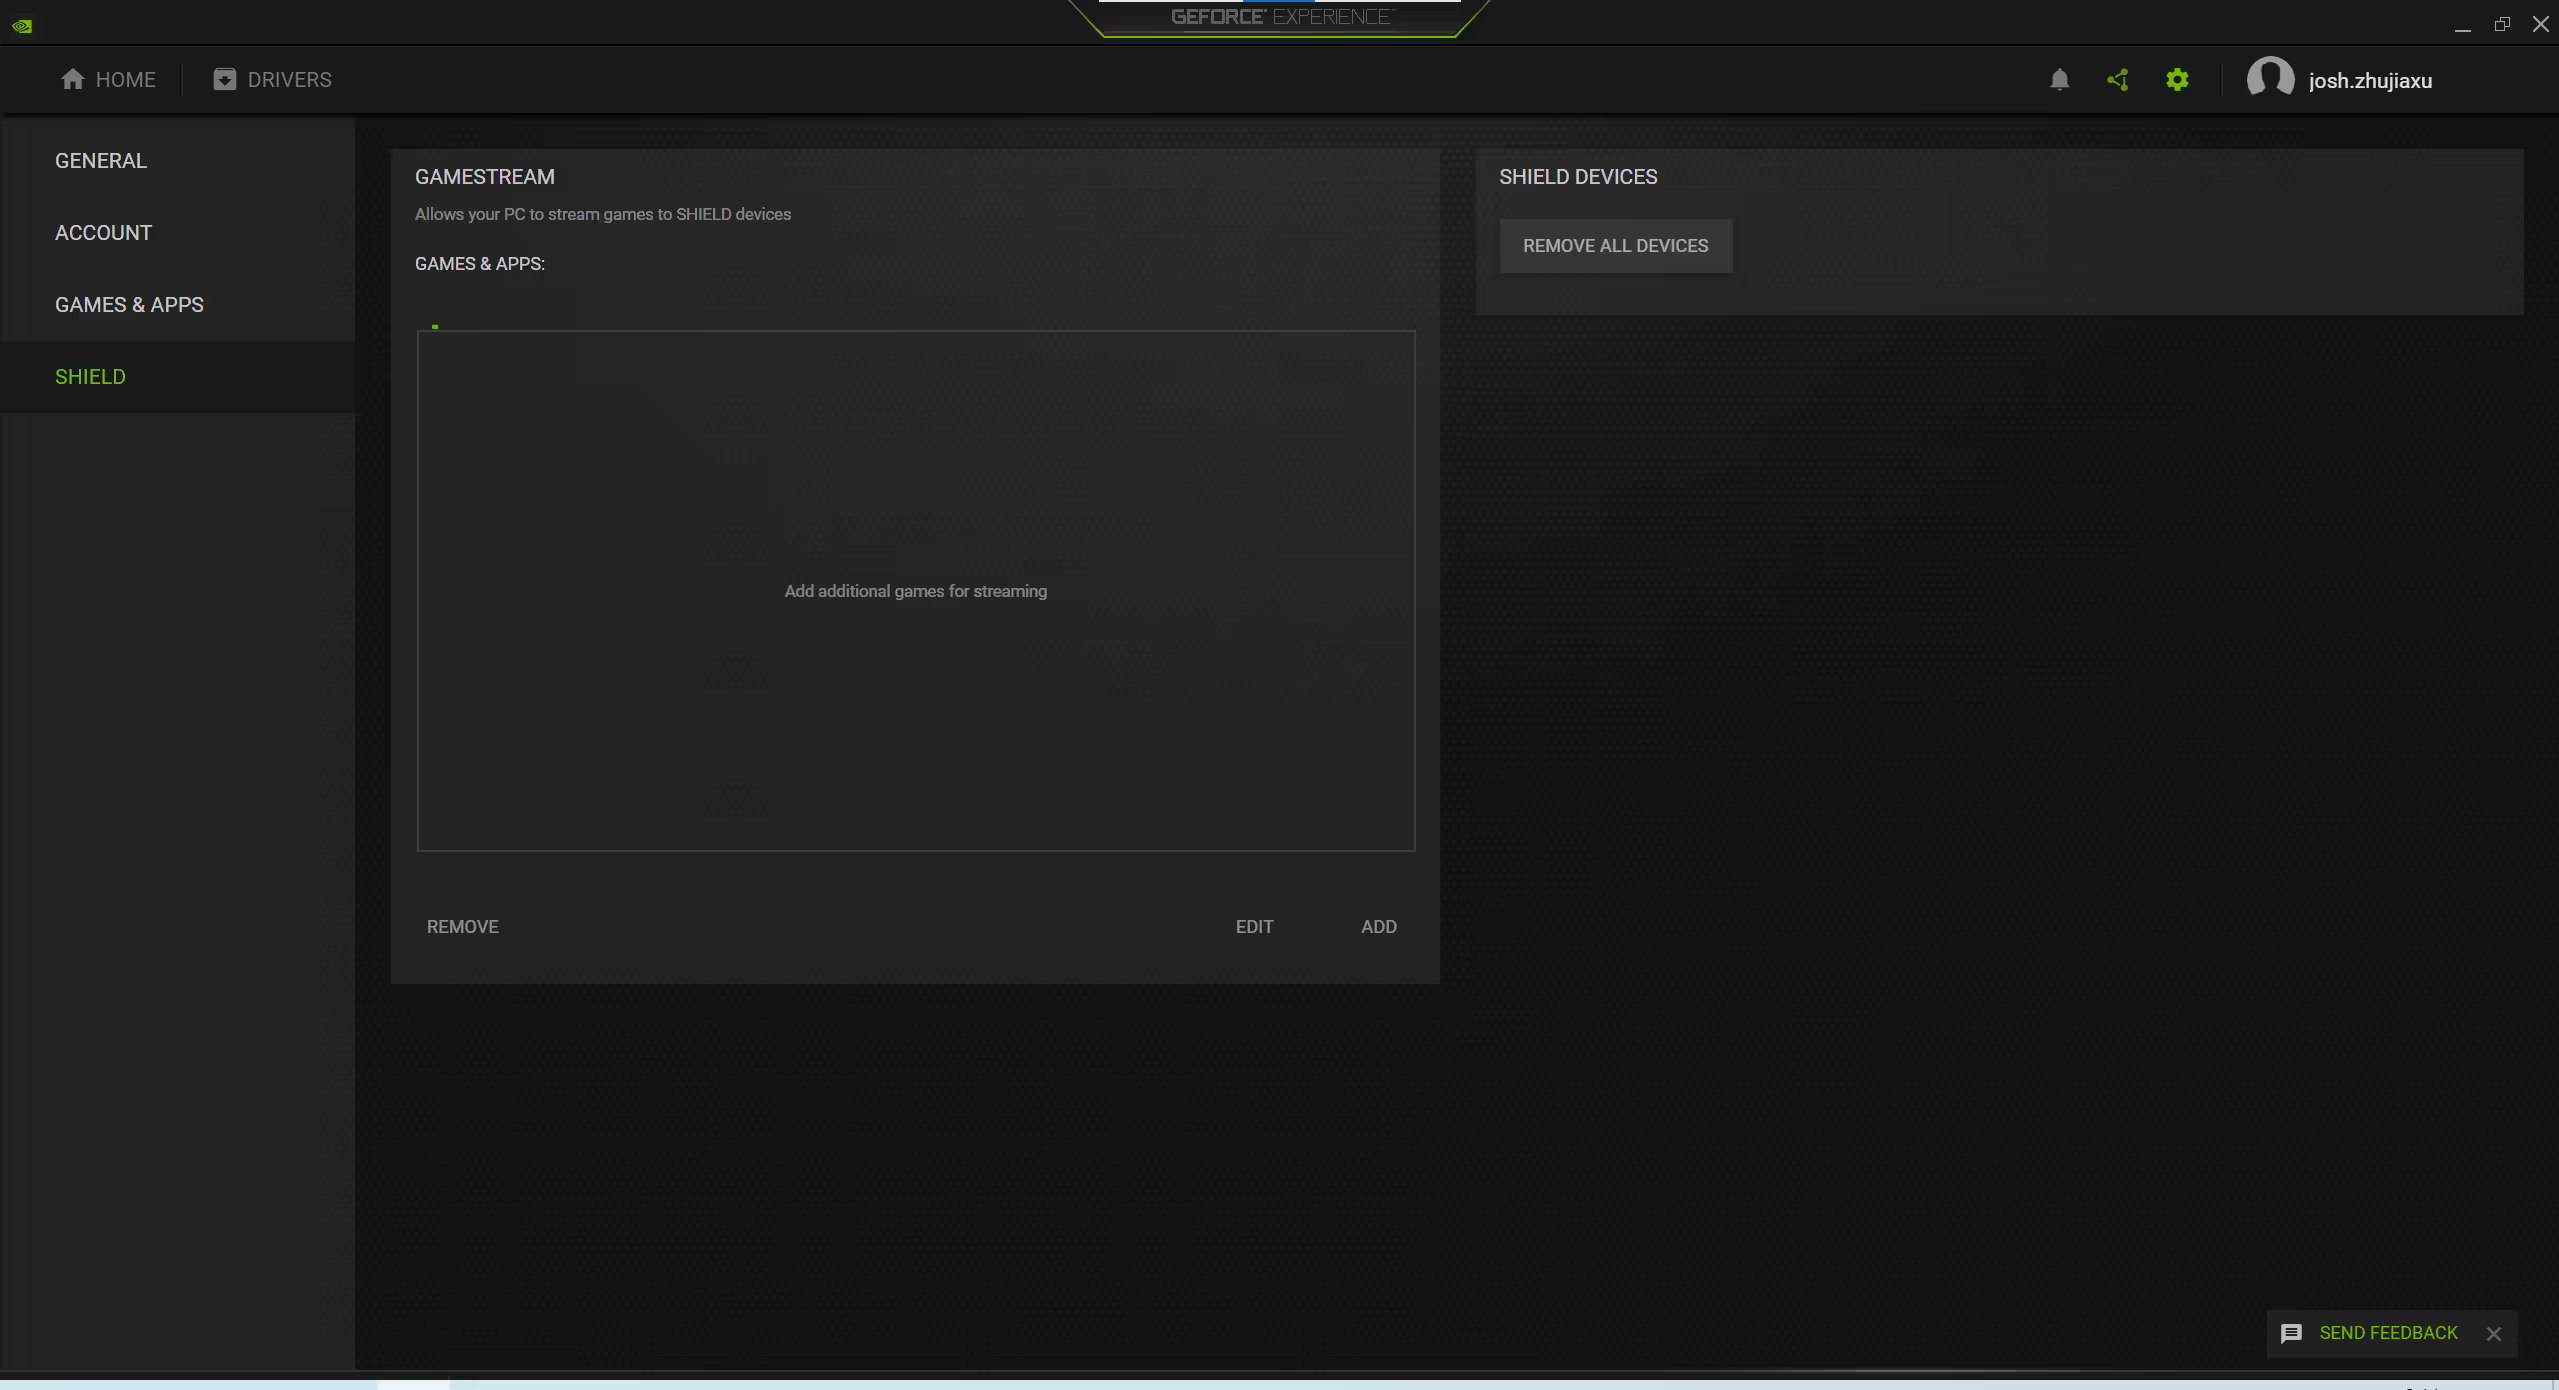
Add some games and software you want to stream. I would recommend adding at least one non-game software to get a powerful RDP for future use and management.
Network
You should use a wired connection to set bridge mode for the VM’s network interface.
However, if you ever use a wireless connection on your server, You need to set up NAT port forwarding as bridge is not allowed for wireless connection.
Wireless Port forwarding
Moonlight streaming would use
- TCP: 47984, 47989, 48010
- UDP: 5353, 47998, 47999, 48000, 48002, 48010
To set up the port forward
#!/bin/bash
GUEST_IP=192.168.122.215
TCP_array=(47984 47989 48010)
UDP_array=(5353 47998 47999 48000 48002 48010)

for PORT in ${TCP_array[@]};
do  sudo iptables -I FORWARD -o virbr0 -p tcp -d $GUEST_IP --dport $PORT -j ACCEPT;
	sudo iptables -t nat -I PREROUTING -p tcp --dport $PORT -j DNAT --to $GUEST_IP:$PORT ;
done

for PORT in ${UDP_array[@]};
do  sudo iptables -I FORWARD -o virbr0 -p udp -d $GUEST_IP --dport $PORT -j ACCEPT;
	sudo iptables -t nat -I PREROUTING -p udp --dport $PORT -j DNAT --to $GUEST_IP:$PORT ;
done
To disable
#!/bin/bash
GUEST_IP=192.168.122.215
TCP_array=(47984 47989 48010)
UDP_array=(5353 47998 47999 48000 48002 48010)

for PORT in ${TCP_array[@]};
do  sudo iptables -D FORWARD -o virbr0 -p tcp -d $GUEST_IP --dport $PORT -j ACCEPT;
	sudo iptables -t nat -D PREROUTING -p tcp --dport $PORT -j DNAT --to $GUEST_IP:$PORT ;
done

for PORT in ${UDP_array[@]};
do  sudo iptables -D FORWARD -o virbr0 -p udp -d $GUEST_IP --dport $PORT -j ACCEPT;
	sudo iptables -t nat -D PREROUTING -p udp --dport $PORT -j DNAT --to $GUEST_IP:$PORT ;
done
remember to change the IP address to your VM.
Now you should be able to use moonlight and stream
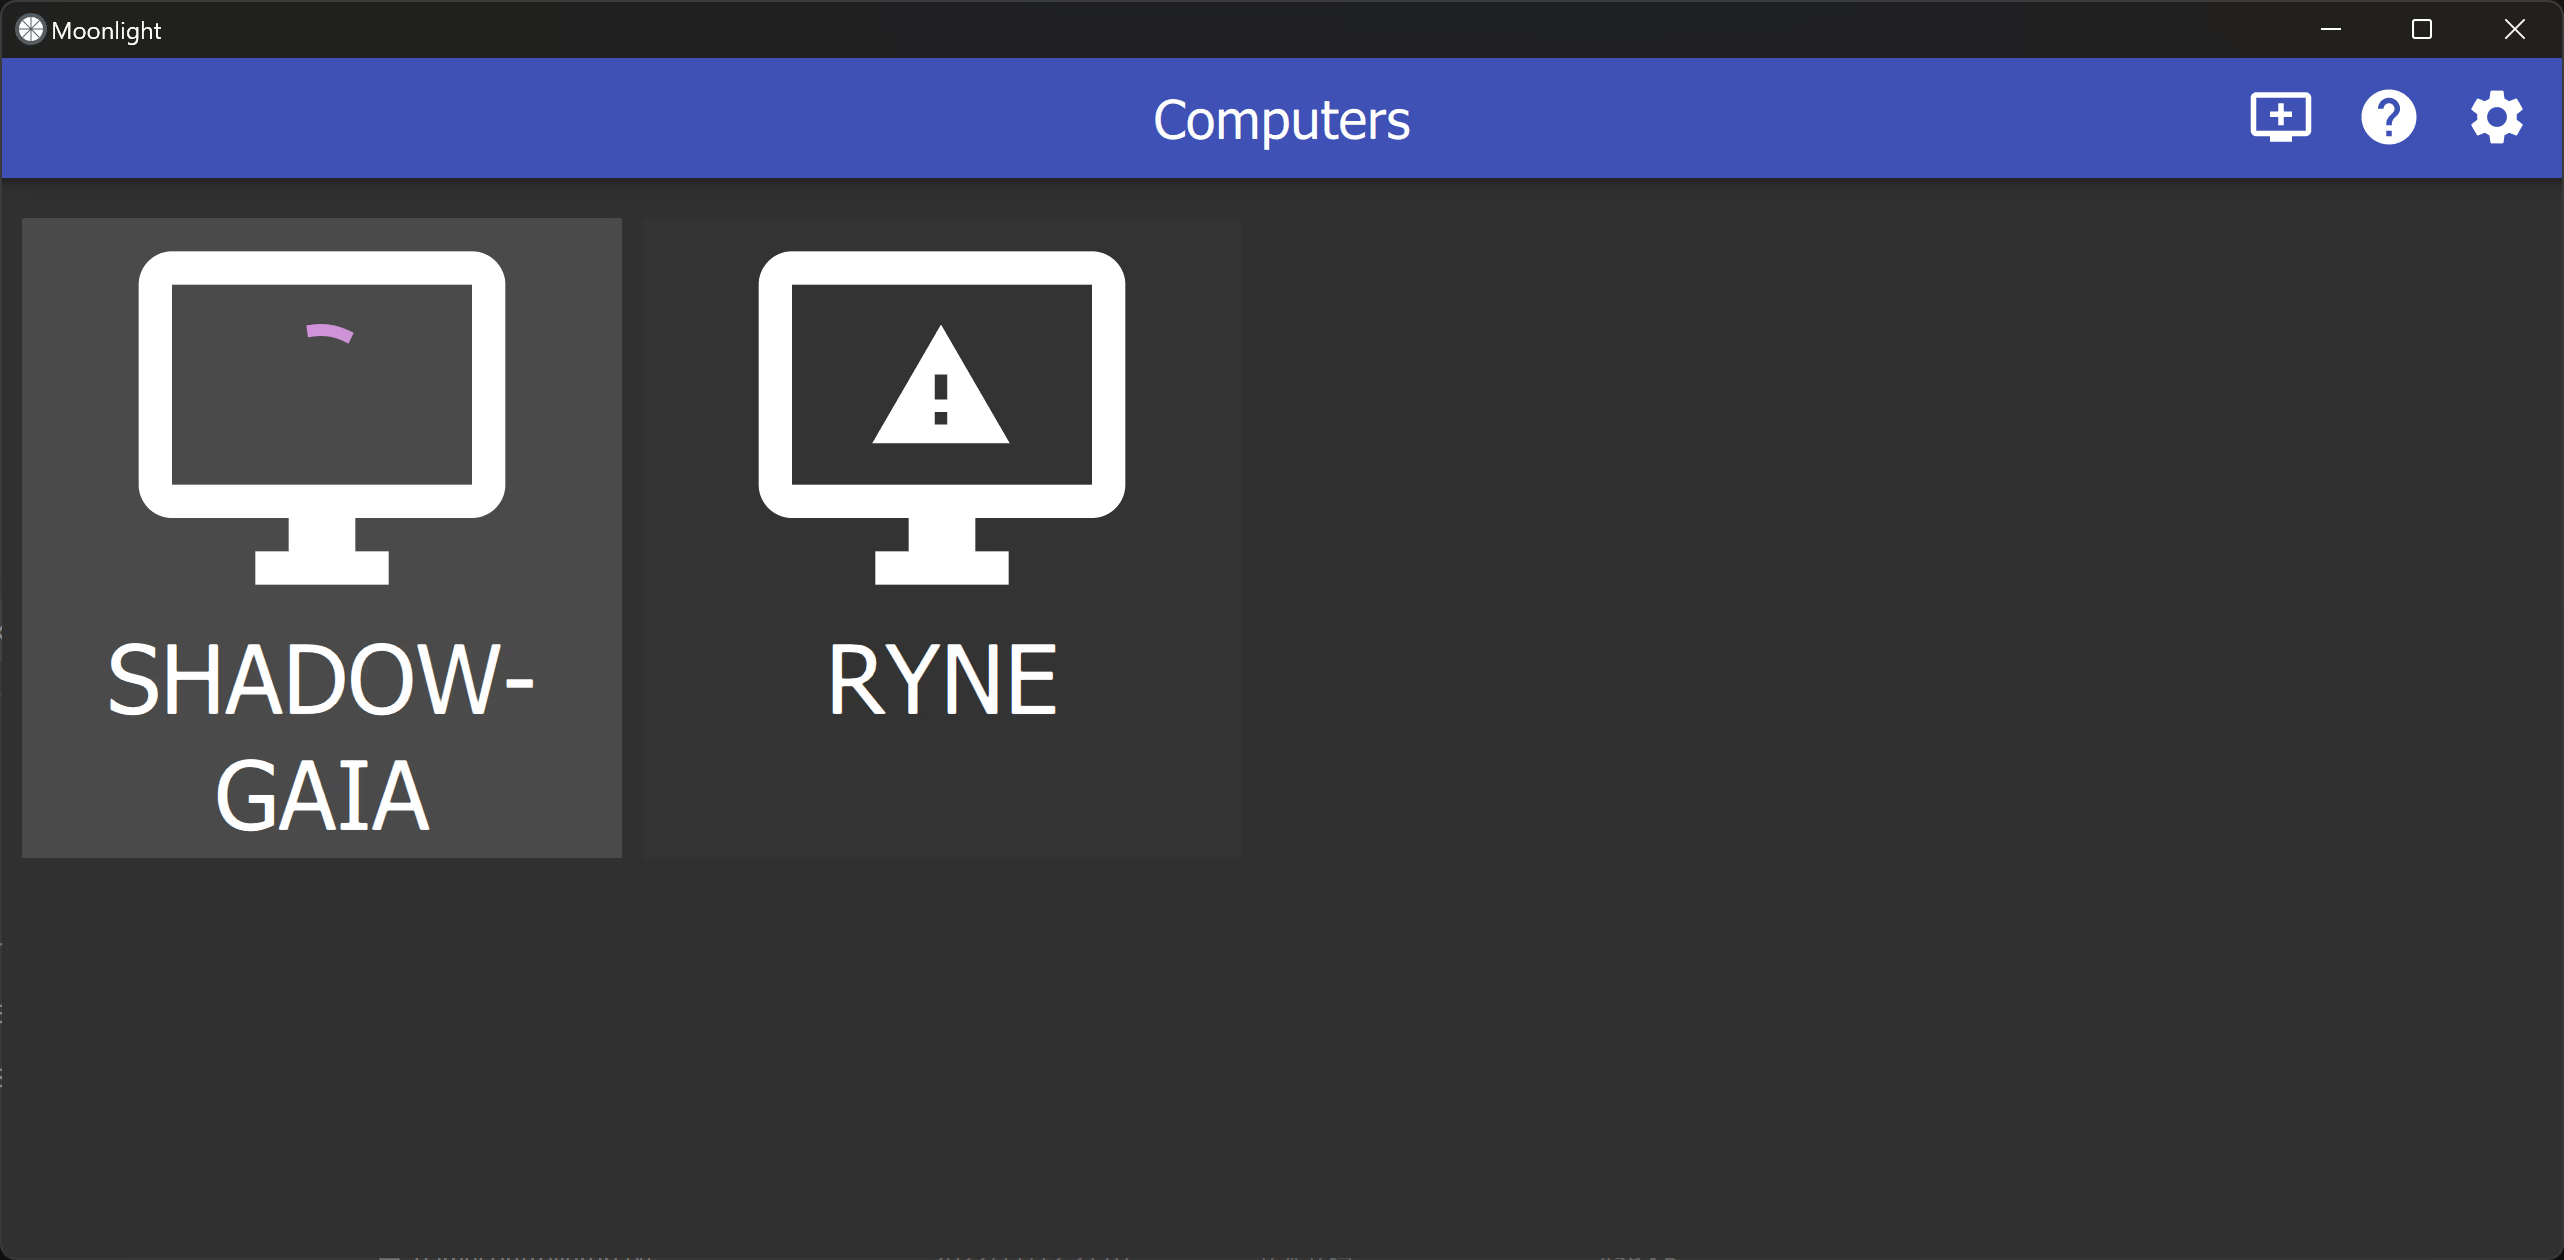
Before you make the system headless, pair your moonlight devices first.
A New Shield device would need pairing. Make sure you have paired at least one device when you still have desktop access.
For new devices, close old sessions, enter pairing in moonlight client, use the old devices to create a session, and enter the pairing code.
Session blocks pairing while pairing doesn’t block sessions
Notice that you should keep the MAC address of the VM NIC carefully, as Moonlight would reject connection if you change the MAC address.
Moonlight operation
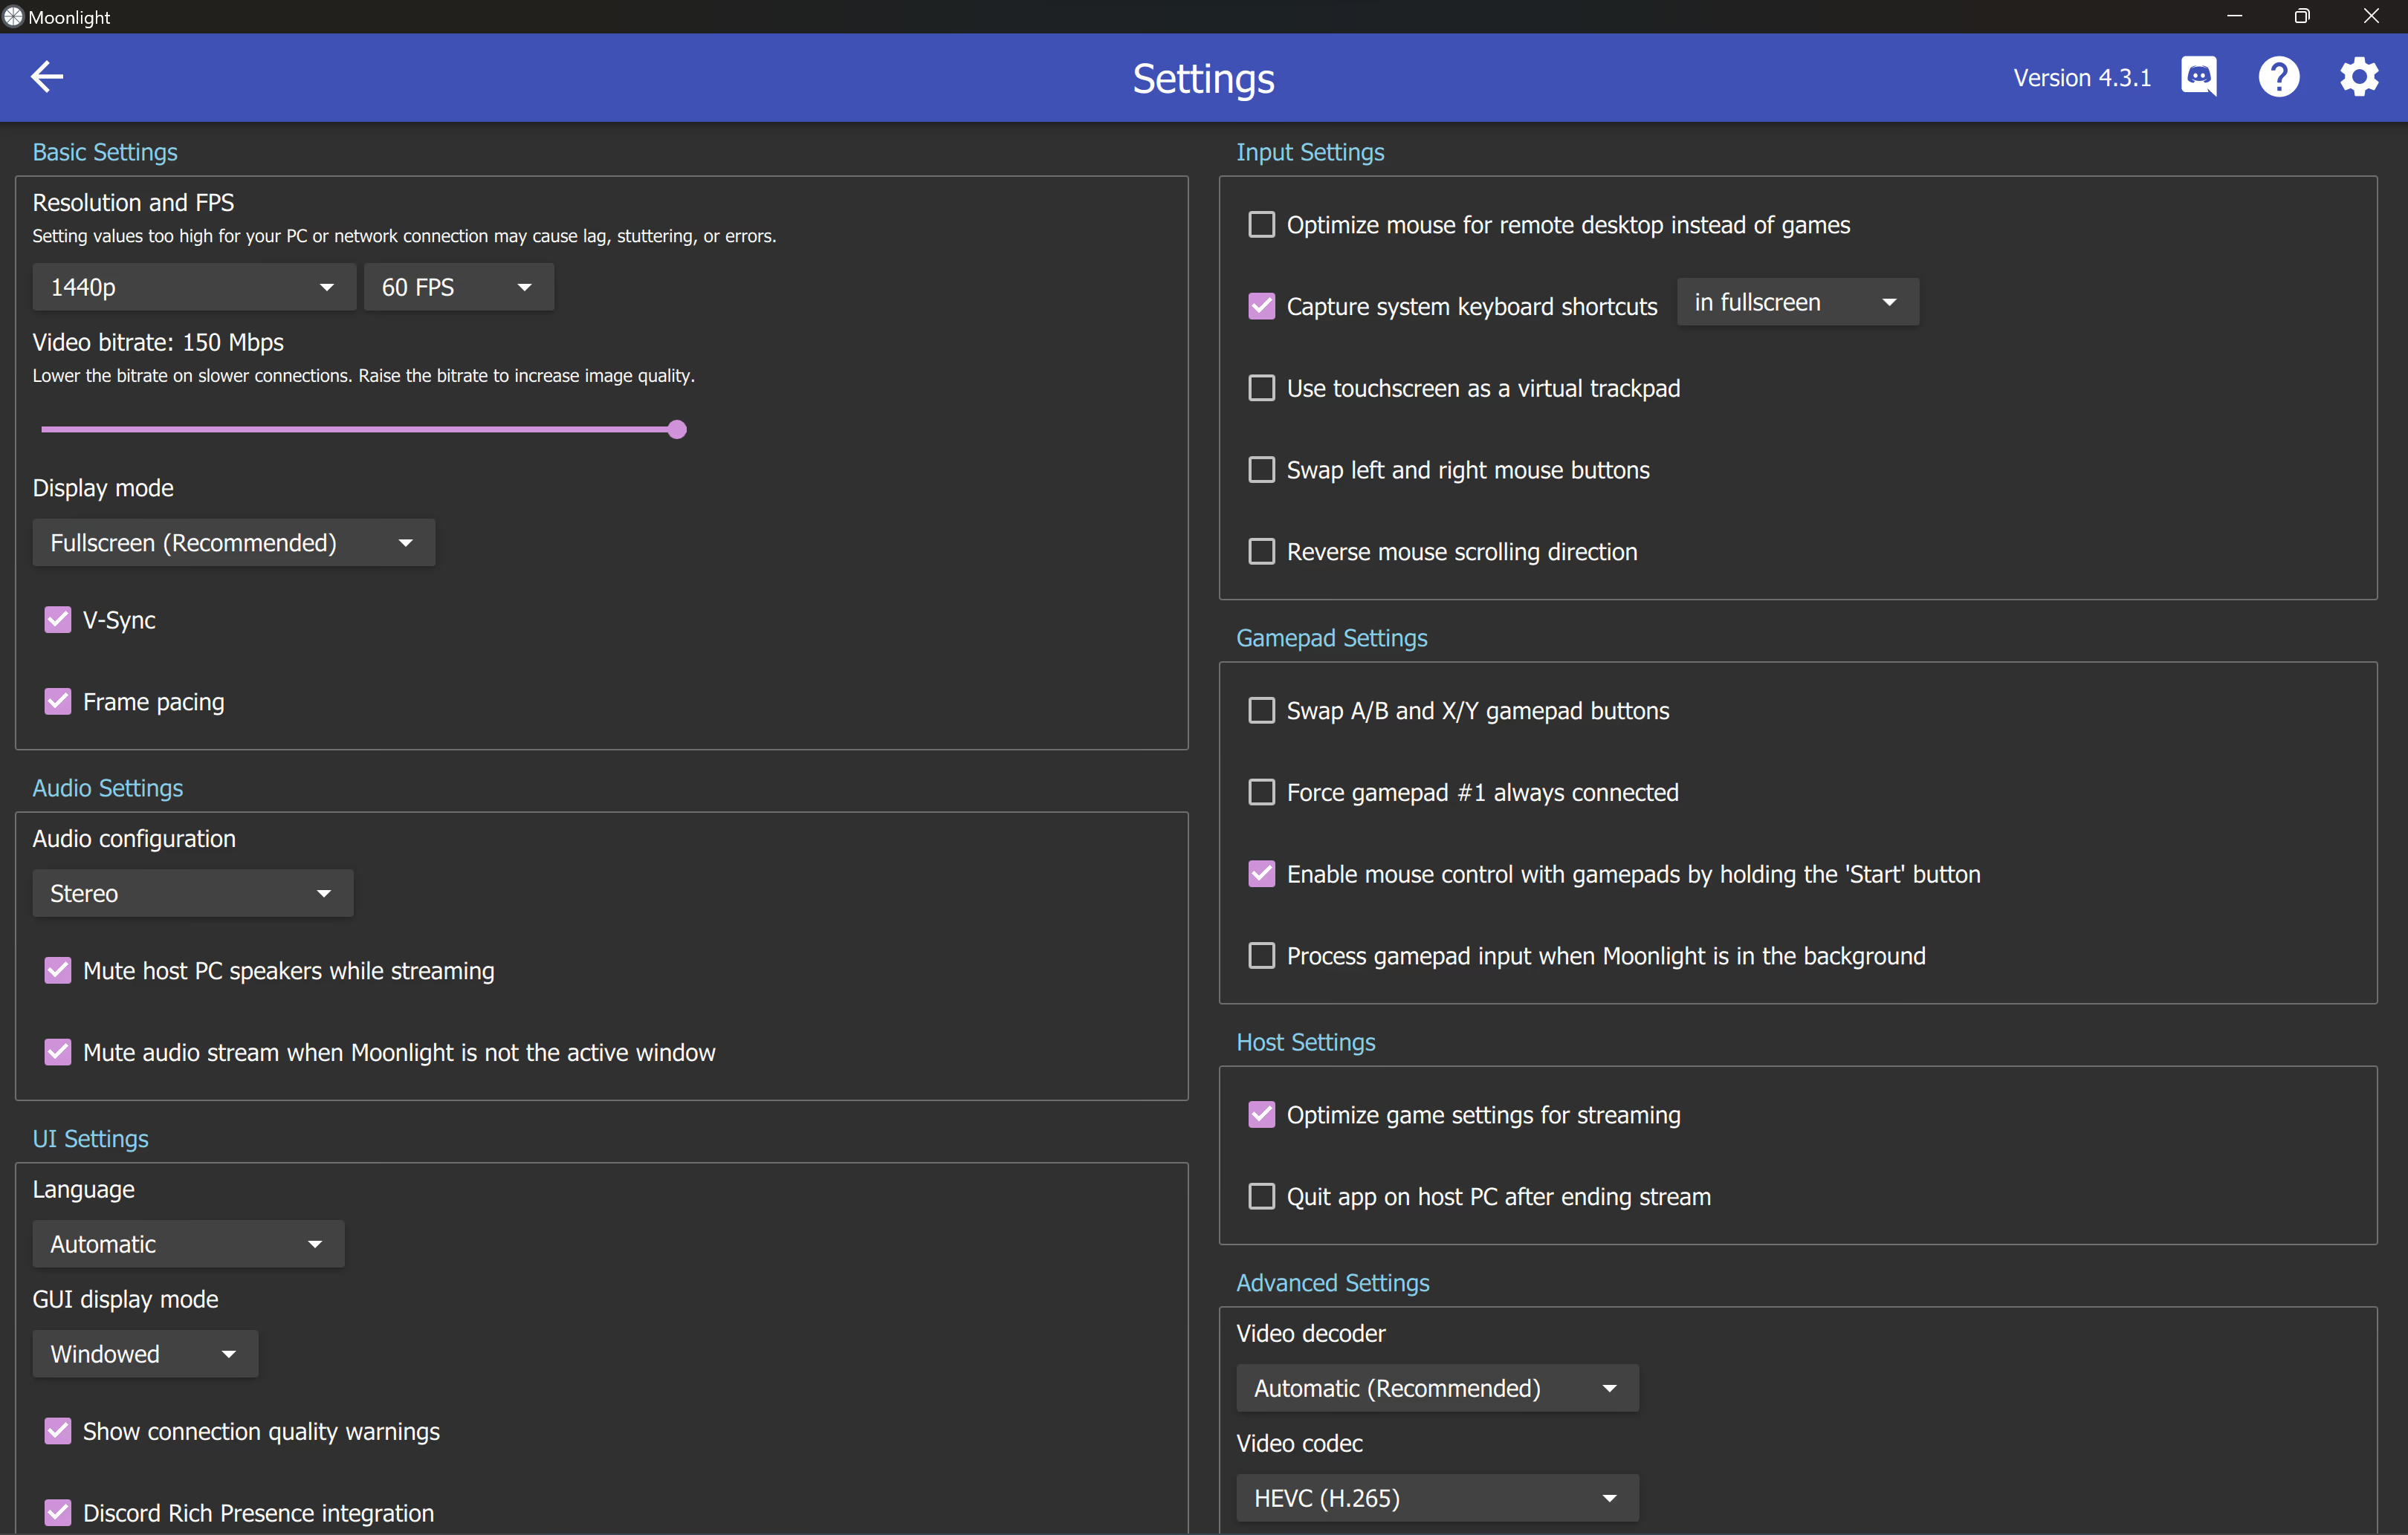
- Use as much bandwidth as possible since we are in LAN.
- Use HEVC encoding
- V-sync and frame pacing are generally good but could introduce delay
- Use Ctrl-Shift-Alt-X to toggle between fullscreen and windowed
- Use Ctrl-Shift-Alt-D to minimize the moonlight screen
Fully Headless
You would need a display to the GPU to make full use of it. The software SPICE display is not connected to GPU though.
This could be different if you using a workstation GPU.
There are two solutions
- Use an hdmi dongle plugged into GPU as a fake display
- Easy and Robust
- You can even DIY one
- Use a virtual display driver in win10VM
- Like LookingGlass windows driver
After building the system, You can just manage the VMs using ssh and libvirt
sudo virsh list
sudo virsh edit Win10VM
sudo virsh start Win10VM
sudo virsh shutdown Win10VM
Enjoy it
Now play some games, browse the web, or even run some benchmarks in the VM from the moonlight client.
When the system is stable to use, you can do the cleanup.
- Remove Win10ISO image and virtio image in virt-manager.
- Remove SPICE display if you aren’t going to use it.
- Set up a Samba server on the Linux host and connect the network drive in Win10VM for file sharing.
Add some more vdisks for storage, and enjoy it!
Performance Tweaks
- Set CPU frequency
- You can set CPU power policy to maximize performance
-
sudo cpupower frequency-set -g performance
- Overclock CPU
- Caution first: Overclocking has its risk!
- Be careful on this tradeoff
- VM has performance loss in CPU
- Overclock brings performance compensation
- Win10VM cannot push host CPU to limit
- Overclocking and higher voltage help mitigate this
- Linux default turbo frequency and voltage is conservative
- TDP temperature of 70 degree is wasting CPU potential
- Caution first: Overclocking has its risk!
- vCPU align
- CPU pinning could mitigate cache issue
- The hypervisor would map vCPU instruction to pinned physical CPU
- Set I/O thread and emulatorpin
- Don’t allocate all cores for VM, spare one for io thread
- An example
... <currentMemory unit='KiB'>50331648</currentMemory> <vcpu placement='static'>6</vcpu> <iothreads>1</iothreads> <cputune> <vcpupin vcpu='0' cpuset='2'/> <vcpupin vcpu='1' cpuset='3'/> <vcpupin vcpu='2' cpuset='4'/> <vcpupin vcpu='3' cpuset='5'/> <vcpupin vcpu='4' cpuset='6'/> <vcpupin vcpu='5' cpuset='7'/> <emulatorpin cpuset='0-1'/> <iothreadpin iothread='1' cpuset='0-1'/> </cputune> <os> <type arch='x86_64' machine='pc-q35-7.1'>hvm</type> ... - CPU pinning could mitigate cache issue
- AMD CPU alignment
- AMD CPUs with chiplet design would benefit from allocation cores in one die together to optimize cache
- Prune useless Win10 system components
- Disable Windows Defender as long as you don’t keep confidential in the VM
- Or you can even use customized Win10ISO
- My VM xml is here
Current Problem
- Video Playback from Moonlight is broken. Could be a problem with nvidia gamestream or the passthrough methodology.
- Moonlight client has some bugs
- For example, using OBS to capture Moonlight client fullscreen and exit Moonlight streaming by Ctrl-Shift-Alt-Q.
- The Fullscreen would stuck, though disappear after the moonlight client is killed.
Notice
- Some games would detect virtualization and refuse to run
- The Elden Ring wouldn’t run unless you set the motherboard info correctly
- Genshin Impact PC wouldn’t run unless cpu hypervisor feature is disabled
- Upgrading Nvidia Driver in Win10VM might crash Nvidia Gamestream
- Need reboot VM
- Remember to start the VM with sudo
- Otherwise it could only use one CPU core
- Sometimes Nvidia Gamestream would make mistakes in deciding the z value in a fullscreen
- Mainly when you start streaming with non-fullscreen software and launching a fullscreen game then.
- The game flash with any screen overlay like Nvidia performance monitor, fraps, or even Windows activation marker.
- Use Ctrl-Shift-Alt-Q to exit streaming and restart the moonlight client could sometime fix that
- By forcing GameStream to re-think the application depth I think
- Mainly when you start streaming with non-fullscreen software and launching a fullscreen game then.